Happy Easter everyone, I hope that you've had a lovely long weekend whatever you've been doing!
It's been a while between posts but it's been a busy month in our little household. We've both had a bit going on in our work worlds, I applied and was successful for a volunteering position that I will start next month, we've had some exciting baby news in the family (not us!) and....we installed a new toilet! The addition of a new toilet doesn't really compare to the other news, but hey we're pretty damn excited! When you're living in a renovators delight and with a toilet from the 70's, you tend to celebrate the small stuff. Our spiffy new toilet flushes so well (the first time!), is water saving AND it has a soft closing lid- fancy huh?!
As a side note it's lovely to know that despite no new posts
there has continued to be a steady stream of people coming to have a look-
thank you all so much for taking the time out of your busy lives to
read my little blog!
 |
| I'm not going to miss this ugly brown thing! |
So, to get to the point of the post...we've removed our chimney! Paul started on the roof, removing all the bricks up there and then patching the hole where it was with some second hand tin from our favourite junk yard in Coburg (is it even a thing to have a fave junk yard?!).
 |
| Smile! |
Last Saturday morning we removed the small stuff from the room and then
covered the larger furniture with sheets and tarp. We donned the dust
masks and got into demolition mode removing the lath and plaster and
then Paul removed the cement sheeting that had been used for the lovely brown facade (it was previously covered with fake bricks before I attacked them one night!). I can't tell you how satisfying it was to
take that ugly thing out!
 |
| There was a brick fireplace under there! |
Underneath the facade we did find a fireplace (uh-oh!) but it wasn't
beautiful (I think it's probably been damaged over the years) and
besides we were too committed to change our minds now!
 |
| Next project; to use the bricks |
With dust flying around everywhere we removed the bricks and threw them out the window. There was a frame
in place above the fireplace which looked as though it had a support
beam for the ceiling, so we paid a visit to Bunnings for some structural
pine and the plasterboard for our temporary wall.
 |
| Check out the mess! |
I'd love to be able to explain exactly what he did next, but
basically he rigged it up so that the ceiling didn't cave in and then
put in some temporary flooring where there were gaps.
We
(Paul especially because lets face it, I'm no builder) were pretty tired
after all that so left the next steps until Thursday night and the
start of the Easter long weekend. Thursday night was the big clean- and
what fun it was(n't!). Even though the couch and the TV had been
covered, the layer of dust was incredible. Dust had also made its way
into the study nook which basically caused me to have a dust induced
breakdown. I have never seen such dust, especially because it required
about a five stage removal before it even looked like I'd tried to get
it off! Wash down, wipe, wash down, wipe and keep on wiping! I still think
that I'm probably getting dust all over me just by sitting here typing-
yes it's that bad.
 |
| The temporary walls and floor |
On Friday the plasterboard went up, last night some timber as a
finish between the old and new plaster wall and floor and
today the gaps have been filled with expanding foam.
It's not exactly
beautiful but it's sealed, it's neat and when it comes time to do the
rest of the room one fiddly and time consuming task is done!
It was a happy day when I was able to move the furniture back in- my
favourite part! It's amazing how removing a seemingly small thing in a room can
create such a different feeling of space. I've rearranged the furniture in a way that I think makes much more sense and
creates a nicer flow in the room (not perfect, but working with what we've got).
 |
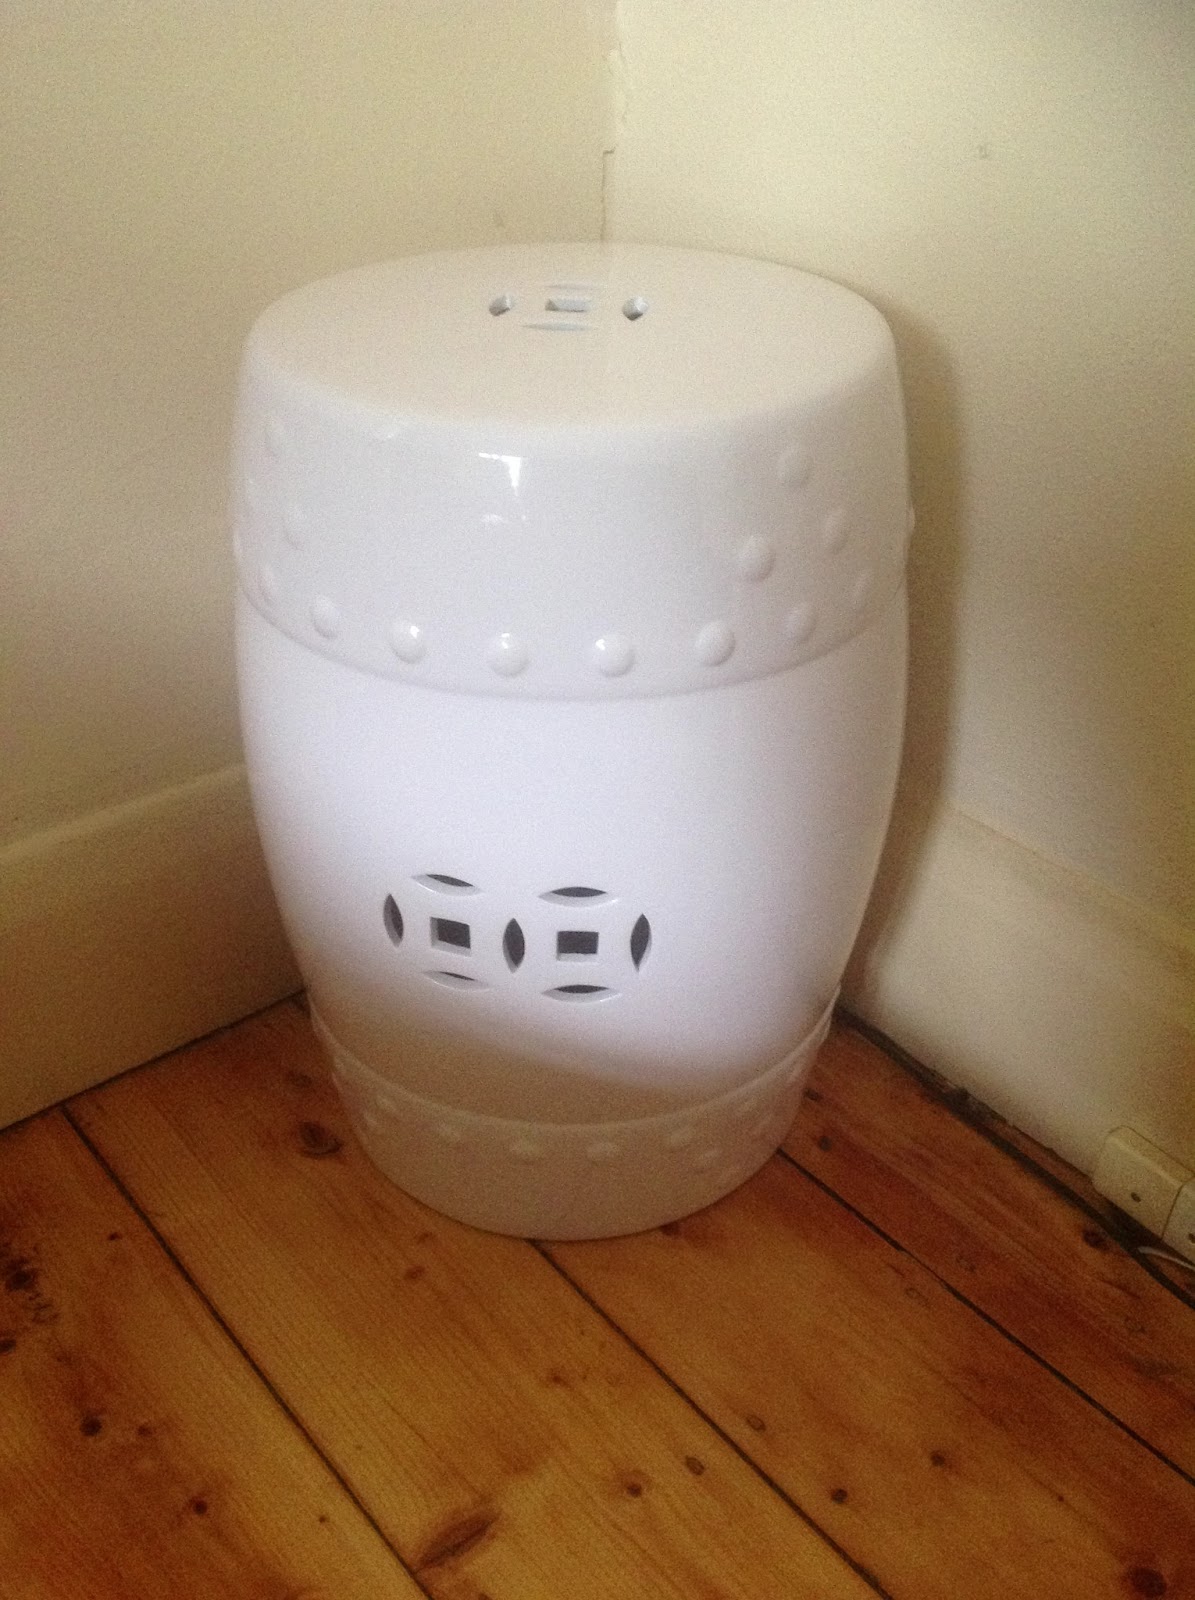
| Lovely ceramic stool |
 |
| The side table and bargain rug |
The
whitewashed table from my previous furniture makeover is now in the hallway (I liked the look of it there when I
temporarily moved it there so it's staying for now), and I've
replaced it with a side table from the spare room. I also purchased this
little ceramic stool from The Reject Shop for $40 and picked up a cheap rug from K-Mart today for $29 to cover the uneven floor! You've got to love a bargain or two!
 |
| Maddie and Millie enjoying the better flowing lounge room! |
The best part of all is that I really feel like we're doing this!
It's also been an excellent eye opener as to how much dust we're going to
be dealing with when we pull out all the old plaster in the front half of
the house. At least when we're doing that, the furniture will be all
out of the area so the cleaning will be focused on the room itself
(which will be bad enough!).
It's also reinforced for me that if we're going to survive this renovation we need to communicate better (I'm still trying to get Paul across the line on this one!)! It's become clear that I like a bit of structure (lets call it a "strategic" plan) when it comes to these things, whereas he's more of a "give it a crack and deal with whatever happens later" kind of guy! It also doesn't help that I've never done this stuff before and I think he gets a bit tired of the constant "why are you doing it that way?" questions- when all I'm trying to do is understand what's going on! It's definitely going to be interesting (as those of you who know us really understand!), but I'm hoping that we can work on that during the planning phases and get better at it before the big stuff happens!
I'm feeling really positive that we've started and there's a lot of planning taking place. We're currently cooking up another "interim project" to utilise the bricks from the chimney so I'll keep you posted!
 It's been a busy few weeks around here, but not with renovating! We've been confirming our itinerary and booking
accommodation for our July Europe trip. I'm getting really
excited about it but I have to say that I find the whole planning caper
exhausting and frustrating! However it's mostly done now and now I can
relax a bit.
It's been a busy few weeks around here, but not with renovating! We've been confirming our itinerary and booking
accommodation for our July Europe trip. I'm getting really
excited about it but I have to say that I find the whole planning caper
exhausting and frustrating! However it's mostly done now and now I can
relax a bit. After much deliberation over the colours, I decided that I
would paint dip the bottom of the legs in Taubmans Painted Parrot (Turquoise)
and the rest in Taubmans Summer Splash (Yellow) so I got a sample pot of each of
the colours.
After much deliberation over the colours, I decided that I
would paint dip the bottom of the legs in Taubmans Painted Parrot (Turquoise)
and the rest in Taubmans Summer Splash (Yellow) so I got a sample pot of each of
the colours. But I'm not patient and it was the first time I've ever done anything like this and I
guess it's all about trial and error. So I did it the hard way and had
to do some detailed paint work where there was some gaps between the two
paint colours (you can see the gap in the picture (left)- I had to re-tape it
at the yellow level).
But I'm not patient and it was the first time I've ever done anything like this and I
guess it's all about trial and error. So I did it the hard way and had
to do some detailed paint work where there was some gaps between the two
paint colours (you can see the gap in the picture (left)- I had to re-tape it
at the yellow level).